
Adjusting the brakes on a Futura vehicle trailer
The following adjustments should be made:
1) After the first 200 km of operation when the brake shoes and drums have been seated in.
2) At 5,000 km intervals thereafter or as use and performance requires.
Here are some important things to know about adjusting your trailer brakes:
- To adjust your trailer brakes, you will need to pry up the star wheel adjuster using a brake spoon or a flathead screwdriver.
- Pushing up on the star wheel adjuster will tighten the brake pads, while pressing it down will loosen the pads.
- You can check if the brake is properly adjusted by rotating the tire slowly until it drags slightly. This indicates that the brake is tight and well-adjusted.
- It is crucial to adjust each tire on your trailer evenly to ensure that the brakes work together and provide cohesive stopping power.
To gain access to the brakes, you will need to elevate your trailer. Lift it until the wheel can rotate freely. Once elevated, place the trailer on jack stands. It is important to keep the jack stands in place while you make adjustments to the brakes.
Take off the brake access cover.
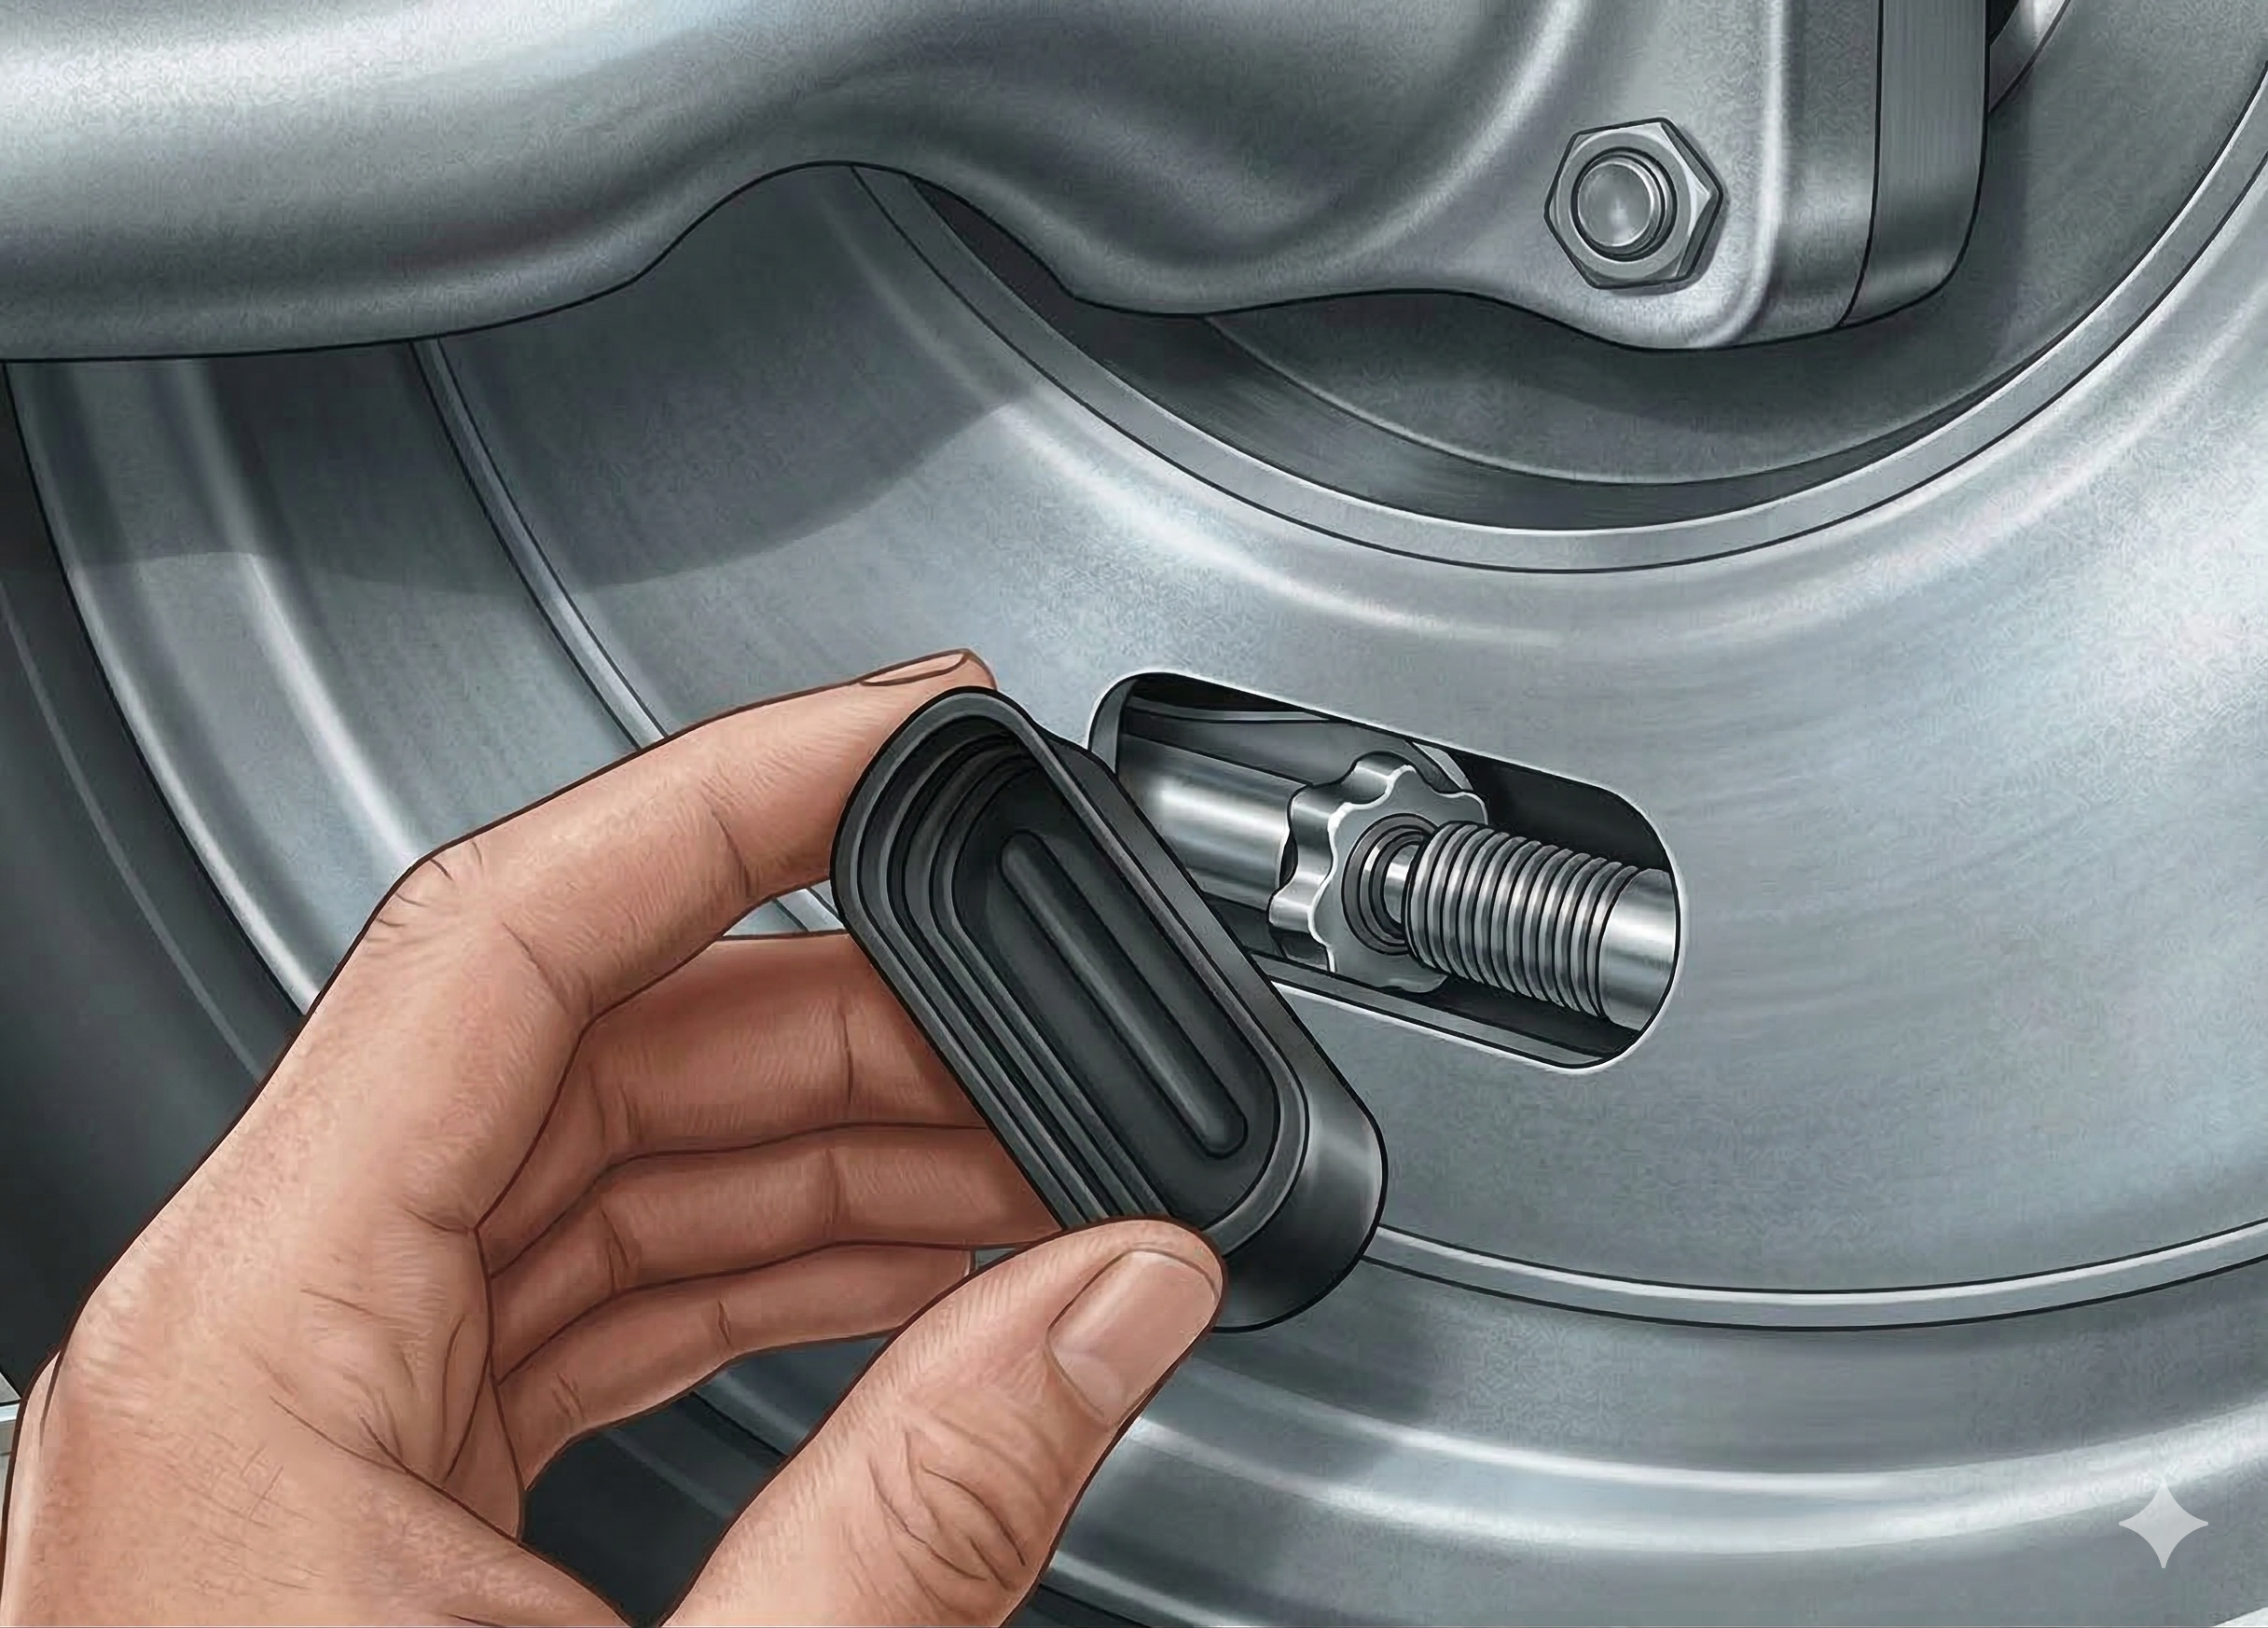
To access the brake adjuster, carefully remove the small cap located inside the brake hub. Look for a circular or oval plastic or rubber plug near the lower edge of the brake backing plate, and use a flathead screwdriver to remove it.
Pry up the star wheel adjuster.
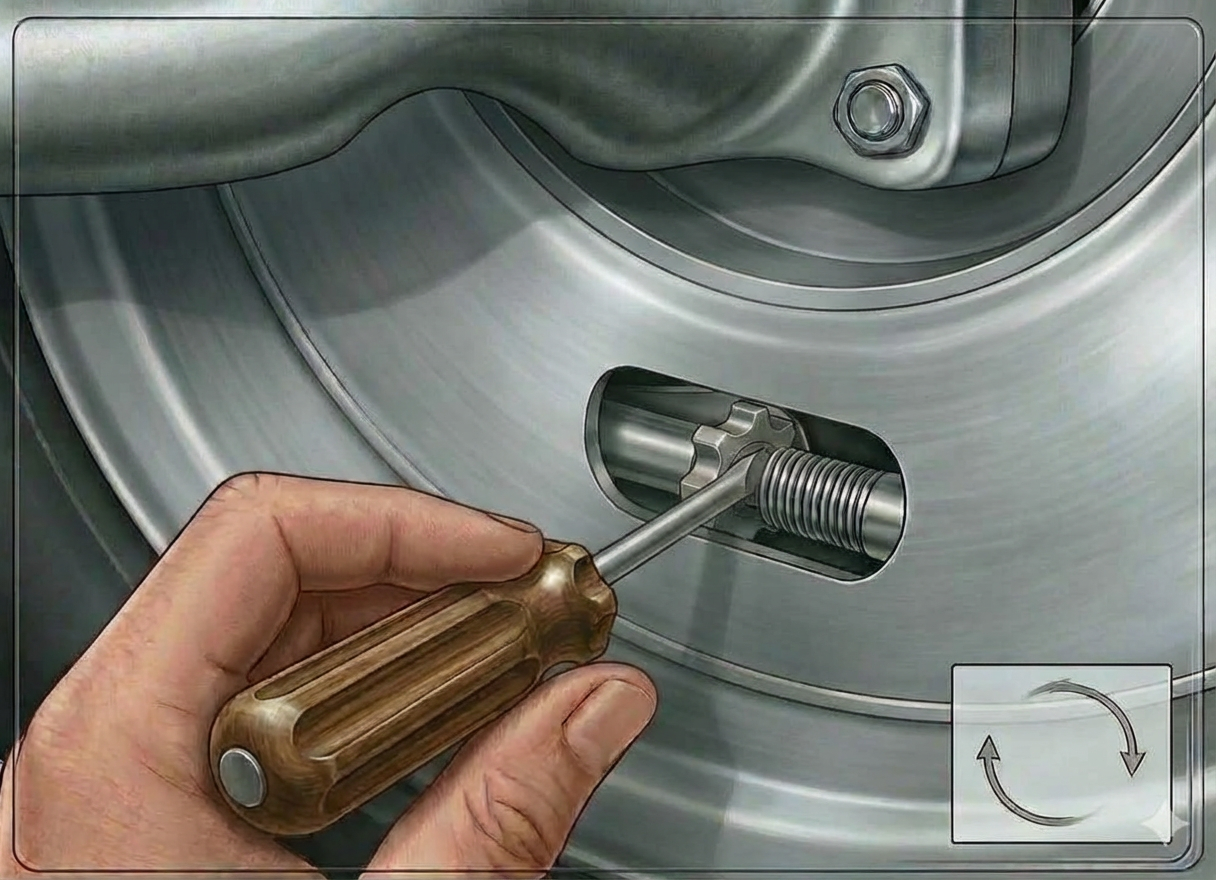
The star wheel adjuster is a mechanism that adjusts the brake lining against the drum. It is located inside the brake chamber, which is underneath the brake access cover.
The adjuster is shaped like a spikey gear wrapped around a long, cylinder spool. To adjust the brakes, you can use a brake spoon, brake adjustment tool, or flathead screwdriver to pry up the adjuster by lifting the teeth of the gear.
It is normal to hear a clicking noise when prying up the adjuster. When you pry up the adjuster and press down on the brake spoon, it tightens the brake pads or shoes.
On the other hand, pressing up on the spoon and down on the adjuster loosens the pads.
Turn the wheel until the tire drags.
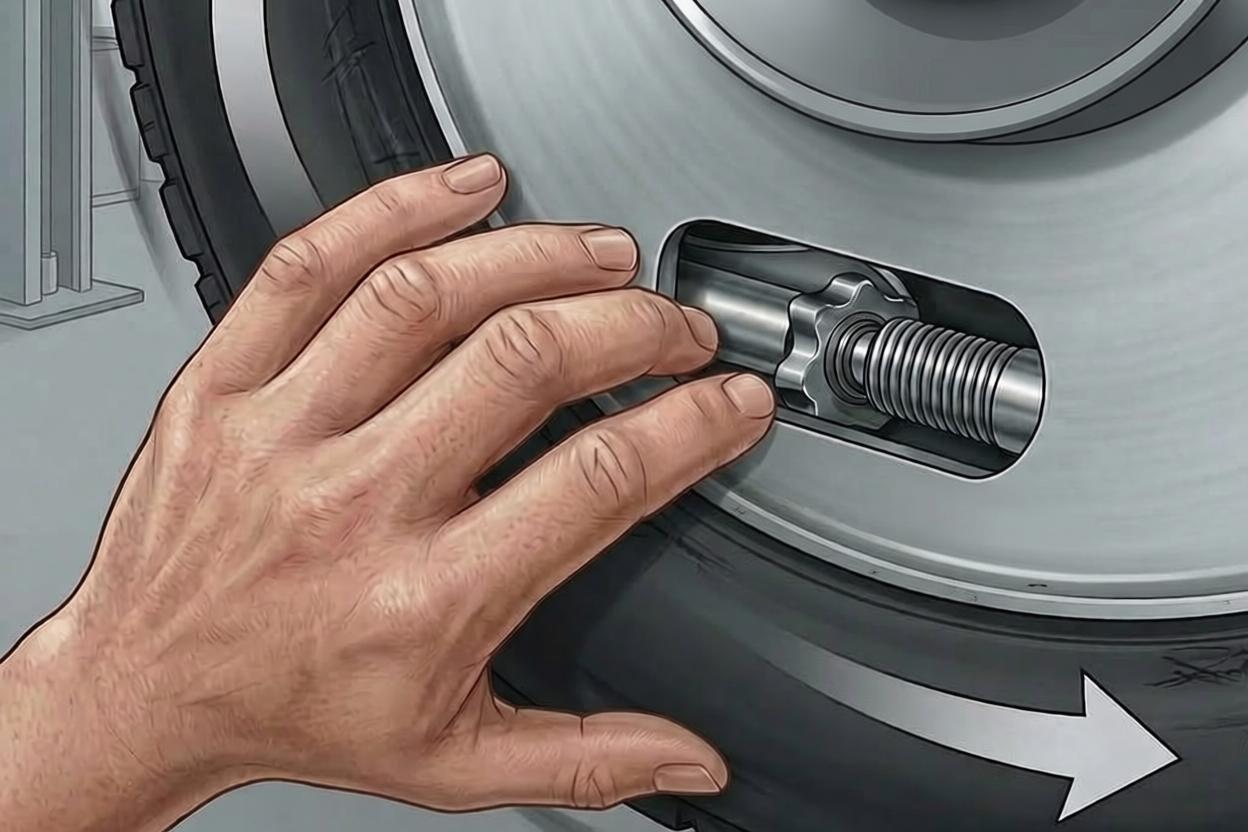
When adjusting your trailer brakes, it is important to ensure that there is a slight resistance when turning the wheel.
To do this, pry up the star wheel adjuster and turn the wheel slowly, one click at a time. Keep prying up the adjuster until the wheel becomes difficult to turn.
Then, turn the wheel in the opposite direction and back it off until you feel a small amount of drag. This indicates that the brakes have been properly tightened.
- It may take around 10 notches to back the brake off; however, it’s best to go by feel rather than an exact number as each trailer is different.
- If the wheel gets too tight, simply back off the wheel’s adjuster by rotating the wheel the other way.
Replace the cover on the brake and repeat on the opposite tire.
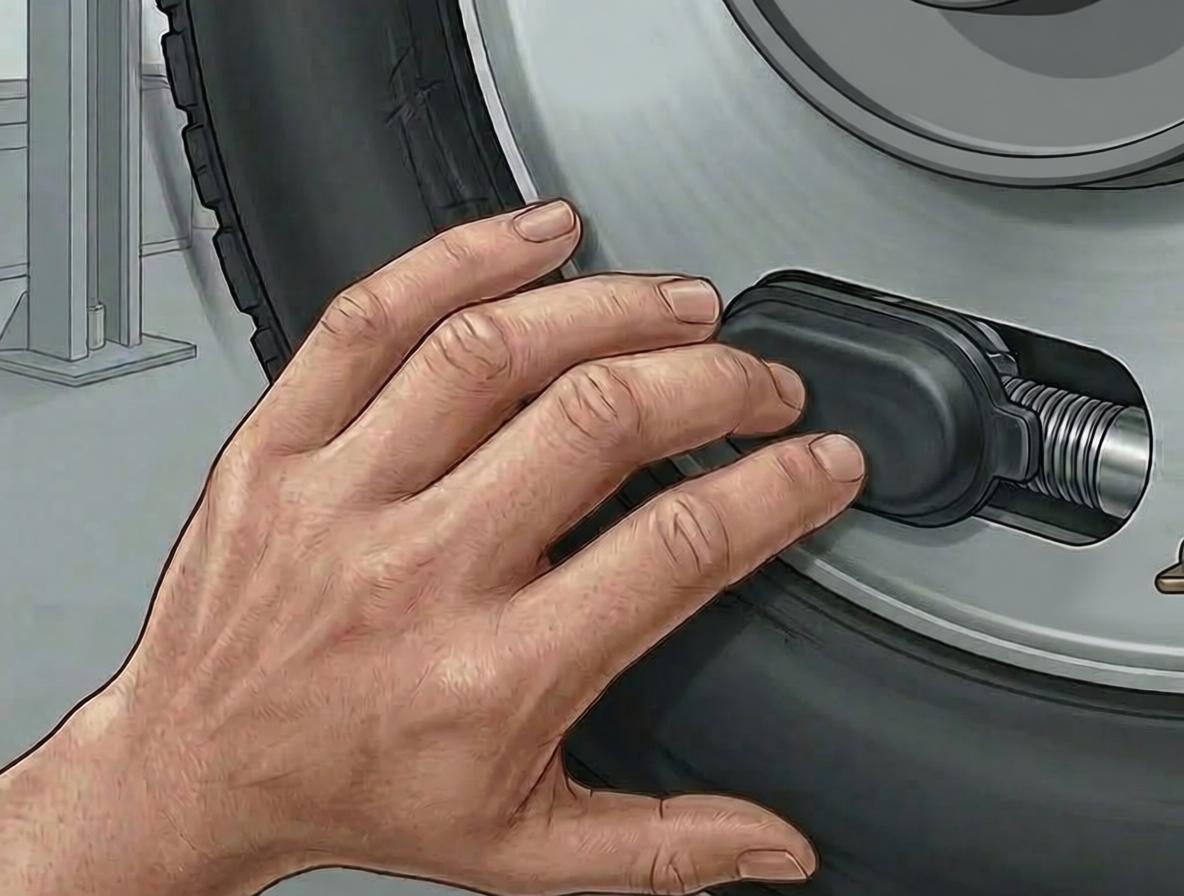
Ensure that you adjust all of the brakes in the same manner. Once you have tightened the first wheel to your desired level, release the star wheel adjuster.
Place the brake access cover back on, lower the trailer on that side, and then proceed to the other side. Repeat the adjustment process on the other wheels and you are ready to hit the road.
- Make sure you adjust all of your wheels the same way; otherwise, your trailer won’t stop evenly.
- In other words, ensure that each tire has the same amount of drag by feel or by counting the number of notches.
Other Resources
Loading articles